Archive | Real Booze RSS feed for this section

Sweet Melissa: A Simpler’s recipe.

11 Jan

About a year ago, I wrote a post on Carmelite water, an herb-infused spirit that has many variations, but who’s defining herb is lemon balm.  Lemon balm is also known as sweet melissa.  My first crack at Carmelite water resulted in a spicy brew where I tasted much more clove than lemon balm.  The clove had a numbing effect on my tongue as I drank it– clove oil is known as a good herbal remedy for tooth aches, as it is both antiseptic and analgesic.

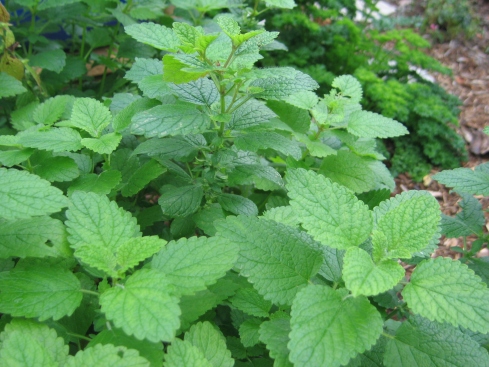
Lemon_balm_2

Alas, I don’t have a personal photo of my own lemon balm. Here’s a public domain shot via wikimedia commons.


Lemon balm, or Melissa officialis, is a perennial herb.  It’s calming, cooling, uplifting, and mildly astringent.  Used in formulas for belly aches, anxiety, hyperthyroid, colds and viruses.  (source: Dina Falconi’s Foraging and Feasting: a Field Guid and Wild Food Cookbook.)  Lemon balm is also a great ally in the garden.  Its lemony scent is supposed to repel various pests.

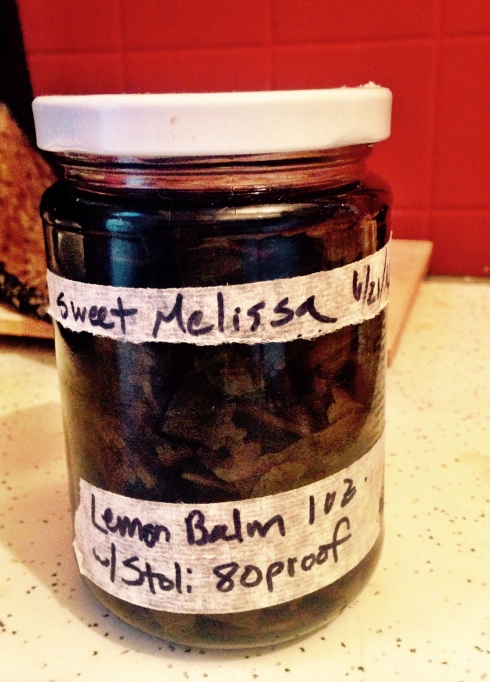
For my second try at a Carmelite water, I decided to go with the fresh herb, and only melissa: no other herbs to distract the taste buds.  In the herbalists’ terms, a one-herb infusion is called a “simple.”   Last summer, I planted a lemon balm that flourished in the high sun of my fire escape.  In June, I took an ounce of the leaves and put them in a jar, and I covered them with about 1 1/4 cups of 80 proof Stoli vodka.  Then, I forgot about it.  Here it is:

IMG_3100

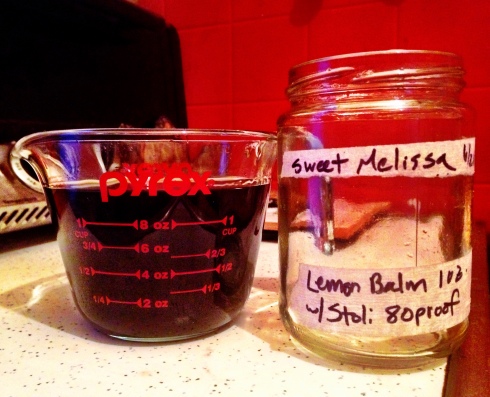
Today, over six months later, I rediscovered the jar in the back of my fermentation cabinet.  I decanted the vodka into a glass measuring cup, squeezed out the extra fluid from the leaves, and then tasted some.  The taste is decidedly herbaceous, decidedly the taste of lemon balm, and of course strongly alcoholic.  The alcohol has quite a bite to it.  Last time I made carmelite water, I skipped the part where you add sugar to the mix.  This time around, I heated up a tablespoon of water, added two tablespoons of honey to it, and mixed that into my brew.  This softened the taste, but it is still sure to put some hair on your chest!  Interestingly, I just found a recipe for lemon balm schnapps, apparently  a Danish recipe.  The author only infuses hers for 48 hours and uses significantly less lemon balm.  I supposed my version is really more like a tincture in its herbal strength.

IMG_3103

The infused alcohol is a deep emerald green, although the lighting doesn’t quite tell you that here.

I would call this experiment a success, although I’ve come to the conclusion  that I like the way fresh lemon balm leaves smell way more than I like the way they taste.  I would call picking a fresh leaf from my homegrown plant and smelling the aroma of it crushed between my fingers a kind of ‘peak experience.’  Eating that same leaf or drinking it in vodka hasn’t done it for me.  Perhaps using my original recipe and reducing the clove will create a more balanced blend that incorporates the taste of sweet melissa but makes it more delicious than this simpler’s recipe.  I’d like to call out to my readers:  do you have a favorite use for lemon balm?


High Season: what’s brewing in your cabinet?

26 Jun

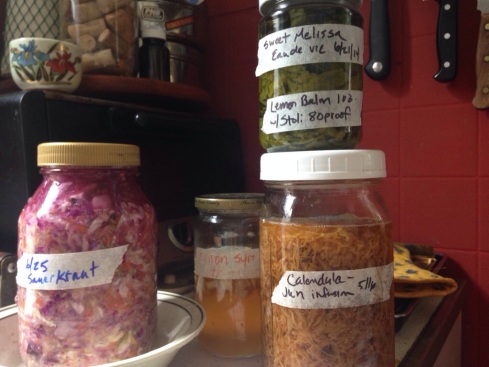
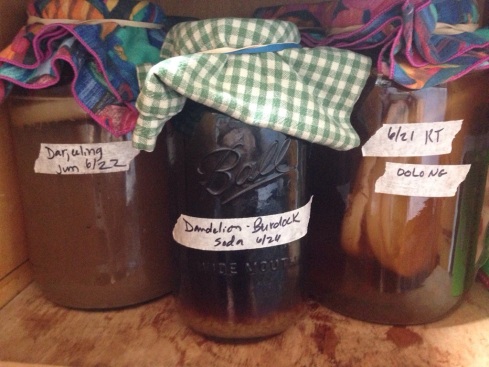
As we sweat through another midsummer, fermentations thrive! Here’s what I have in my cabinet today. A few are alcohol infusions, most are ferments.

20140626-111927-40767640.jpg

20140626-111926-40766818.jpg

I have some writing to do about these, I guess! Stay tuned.

Mak Kimchi

18 Feb

Last year I posted a recipe for my first foray into kimchi making: kkakdugi, or daikon kimchi.  Since then, I have acquired The Kimchi Cookbook by Lauryn Chun.  The book features a great assortment of both traditional and experimental kimchi recipes, as well as recipes for kimchi-inspired meals.

With all the wonderful recipes in the book, I’ve managed to use it twice, and both times I made the most traditional kind of kimchi– the kind you can buy anywhere.  You can call me boring, but it is a perfect recipe, and when I taste perfection, I’m not immediately inspired to look further.

20140216-162650.jpg

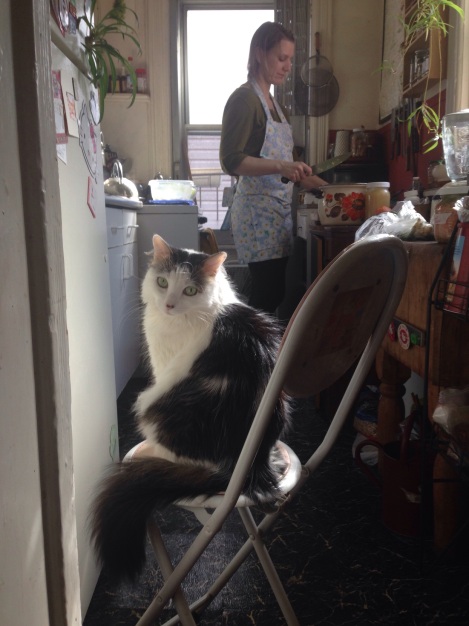
Chopping the cabbage.  Cats are very helpful kimchi-making overseers.

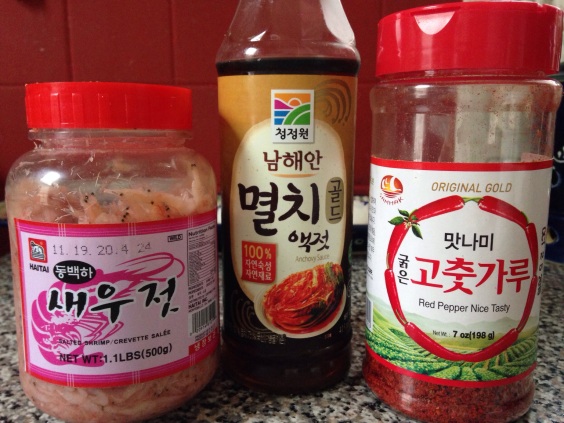
The hardest and most culturally enriching part of making this kimchi was finding some of the traditional Korean ingredients.  Anchovy sauce, salted shrimp, and Korean chili peppers don’t just hang out on the shelves of any neighborhood grocery store.  A store by me that carries The Kimchi Cookbook and many fermenting supplies and ingredients sells ready-made kimchi paste, but not the building blocks to assemble one’s own.  Lame.  If I’m making kimchi from scratch,  I want to do it ALL the way!  Koreatown on 32nd street between Fifth Ave and Broadway in Manhattan is your best bet if you in the NYC metropolitan area.  Halfway down the North side of the block, there is a food store.  When I stepped into the store, a clerk immediately asked if I needed help.  I stood out like a sore thumb, being the only non-Korean in the joint.  Amidst the endless bottles of fish sauce and soy sauce, I would have never found the anchovy sauce without his help.  The chili flakes and salted shrimp were more obvious.

My below recipe is adapted to a slightly larger amount than what is listed in the cookbook, mainly because I have a big fermentation crock and I like to fill it up when I use it.

20140216-162805.jpg

The hard-to-find authentic ingredients. Aaak! The shrimp and their little eyes!

Mak Kimchi

1.  Rinse 2 large heads of napa cabbage.  (6 lbs +)  Cut them into long quarters, remove the core, and  chop them into 1-2 inch, uniform as possible square pieces.

2.  Place the chopped cabbage into a large bowl.  It will take up a lot of space, so you may need two bowls.  Sprinkle 1/3 cups of kosher salt onto the cabbage and mix it up.  Let the cabbage brine in the salt for an hour or more.

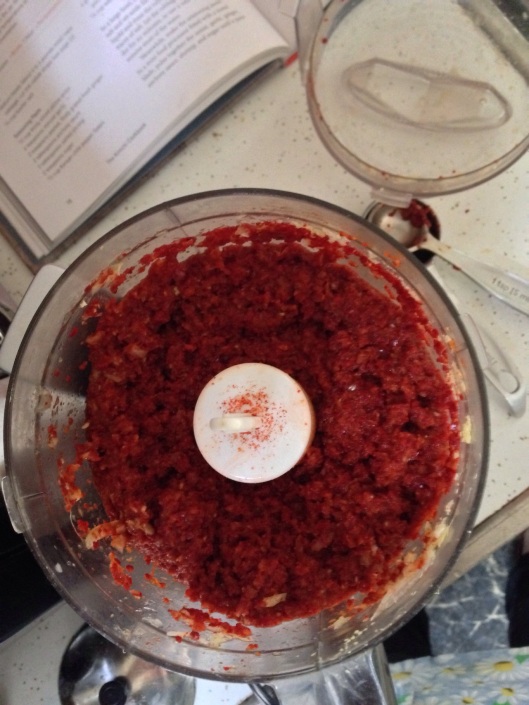
3.  Meanwhile, make your kimchi paste:  In a food processer, combine 1 medium onion, sliced, 6 cloves garlic, coarsely chopped, 1 generous inch of peeled fresh ginger, grated, 3 Tbsp of anchovy sauce, 3 Tbsp salted shrimp, 3 tsp sugar, 3/4 cup of Korean pepper. Process it into a pulp.

20140216-162831.jpg

the kimchi paste

4. Rinse the salt off the cabbage.  Drain it well in a colander or with a salad spinner.

5.  Combine the cabbage with the kimchi paste, and mix in the green parts of 8 scallions or a few green onions, cut into 2 inch pieces.

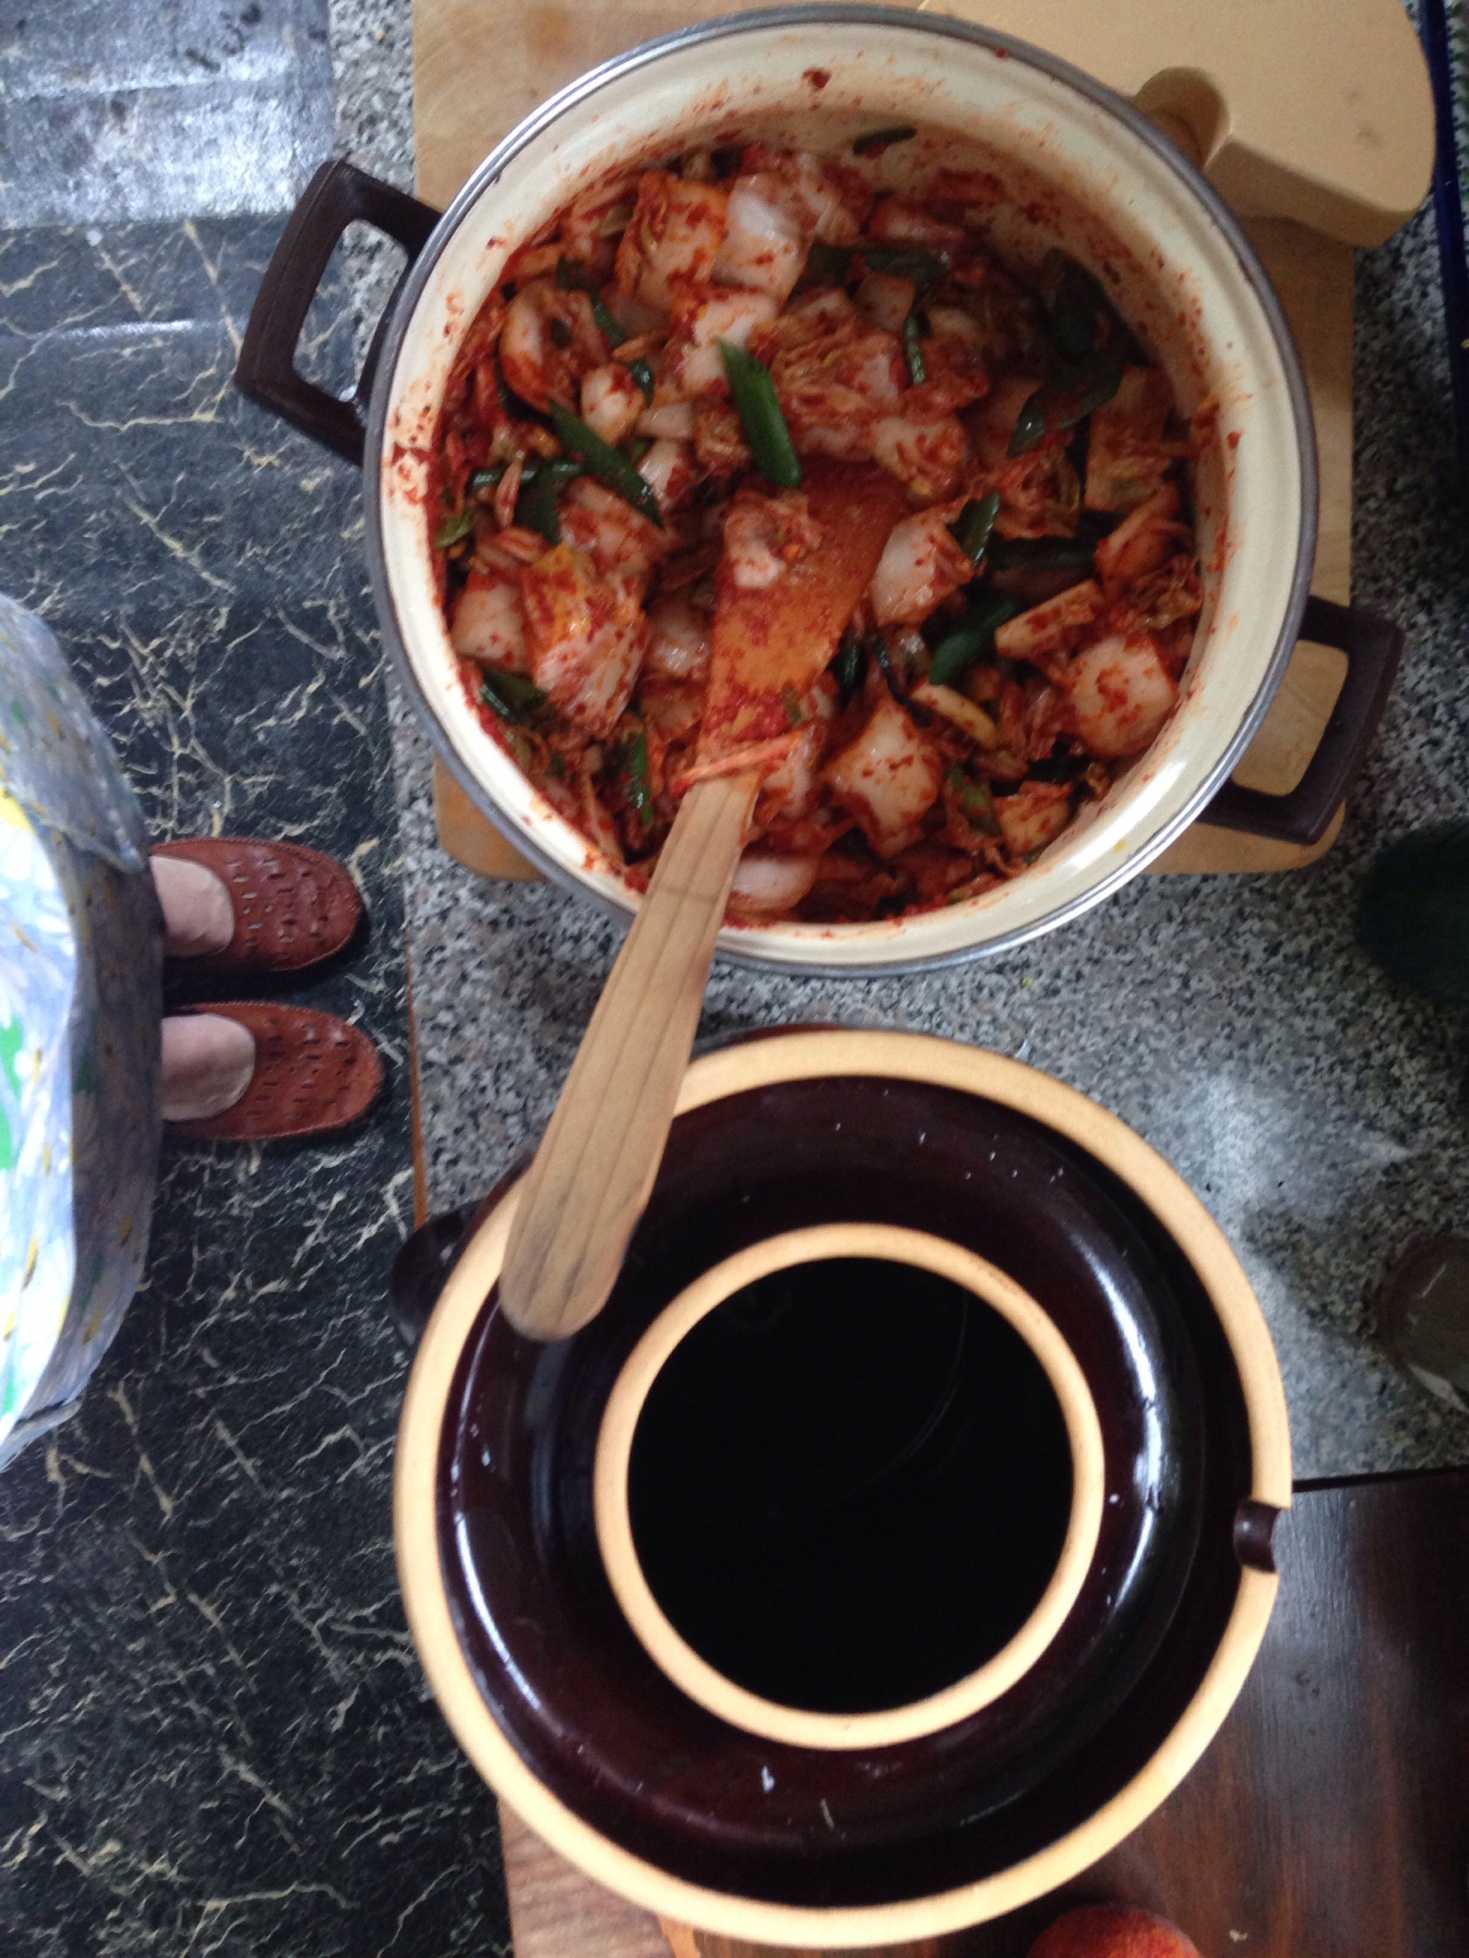
6.  Pack your kimchi tightly into  your fermentation vessel, adding water as necessary to submerge the kimchi.  Cover, and let it sit for three days at room temperature.  Your fermenter could be a pickling crock or simply a large mason jar (or two).  This recipe will yield 2-3 quarts of kimchi.  As it ferments the kimchi will expand, so place your jar on a plate to catch possible overflow.  After this point, it is ready to consume.  Store the kimchi in your refrigerator.  It will continue to ferment slowly and will last for many months, maturing in taste over time.

20140216-162737.jpg

From the mixing bowl to the fermentation crock

Enhanced by Zemanta

Happy Equinox! A boozy remedy recipe for cold season.

21 Sep
English: Ripening elderberries

English: Ripening elderberries (Photo credit: Wikipedia)

September is almost gone, and I’m not sure where it went!  As we hit the fall equinox, we move into true autumn:  my favorite season.  I can tell by the farmer’s market stands that the harvest is in full swing, and yesterday was cool enough in my kitchen that I could enjoy making french onion soup.

In my yoga classes recently, I’ve noticed people showing up with stuffy noses. Allergies are starting to flare up, and so is cold season. A while ago I posted an old wive’s remedy for colds that I got from my mom: raisins in gin. Stretching farther back into my feminine ancestry: we always knew when my mother’s mother had a cold because she would take some brandy in the evening to treat herself. I don’t recall her drinking besides this, and Baba always got a little silly when she drank her brandy. In honor of Baba, I created an elderberry infused brandy for my own cold prevention. Elderberries are one of the most beloved folk remedies for the common cold. This recipe is basically a tincture that I concocted out of my own mind.  Here’s another blogger’s take on it, using fresh elderberries:  www.loveandwildhoney.com/archives/455.  She uses a higher ratio of elderberries, vodka which is more traditional for tinctures, and she filters them out after a few months.  Mine have been in the bottle all year, and I just strain them out as I pour it.  The brandy is stronger in taste than the elderberries, and it is sure to put a bit of hair on your chest if nothing else!  I only make a cup at a time because I really don’t consume very much of the stuff, but feel free to play with quantities and ratios.

Elderberry infused brandy

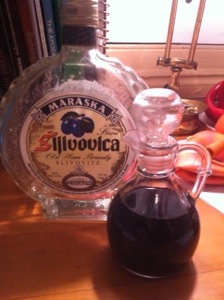
Take a cup of brandy and put it into an appropriate sized container. I used Sljivovica, a plum brandy.

Add 2 TBS of dried elderberries to the container. mix.

Let the mixture sit for at least a week. It will turn a deep, satisfying purple.

Consume in small quantities, straining out the berries when you pour.  I usually sip the infusion straight-up from a little sake glass.

If that way of consuming is too harsh for you, you might add a small shot of your infused brandy to hot water with honey, hot-toddy style.  Add some freshly grated ginger to enhance the flavor and the cold-fighting qualities!

20130921-213638.jpg

Elderberry brandy before and after infusion: this batch has had the opportunity to infuse all year.

Honey ferments: Jun and Mead

9 Oct

Jun just travelled again!  This time, congrats to faithful to Jesus in Kentucky on her new Jun adoption!

What is Jun?  It is a fermentation culture, very similar to Kombucha, that you make with honey instead of sugar.  I DON’T recommend ever using honey with your Kombucha SCOBY or with tibicos— honey contains lots of complicated stuff that can contaminate and kill your culture.  Somehow, Jun gets around this problem.  I figure she must be extra resilient to deal with the honey in the first place– surely the resulting SCOBYs are thick and robust, she seems to travel quite well, and the brew forms faster than kombucha.

In honor of fermenting with honey, I want to present one of my lastest batches of brew.  This one is a wild fermentation, which means no SCOBY is needed.  Wild fermentation depends on harvesting the yeasts that are already present in the surrounding air.  This is the third year in a row I have made a wild style mead.  My recipe is an adaptation on the “T’ej” recipe in Sandor Katz’s book, Wild Fermenation.

Wild Mead Recipe

In a large pot, combine 1 part raw honey to 4 parts water.   The honey to water ratio is not set in stone:  alter it to your taste.  I tend to start with a gallon of liquid.  Stir the mixture until it is homogenous– ala the honey has been dissolved into the water.  Let the mixture sit for a week or two, stirring it well a couple times per day.  After a few days, the mixture will start to bubble.   To help get the bubbling going and to flavor your brew, you can add fruit to the mix also.  Fruit tends to have some yeast coating on it, so the fruit serves as an extra way to innoculate the batch.   To my latest batch, shown below, I added apricots and dried hibiscus.  
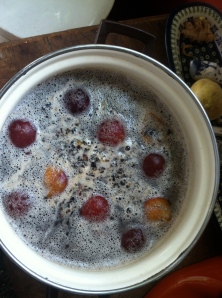
Primary fermentation in a big pot, with apricots and hibiscus added.

Other flavorings I’ve tried have been:

1. nothing– just plain honey

2.  strawberries

3.  blackberries and sage leaves

Once it is bubbling super vigorously, you can decide when it is time to remove the fruit.  You can leave the fruit for up to a week.  When the bubbling starts to slow down a bit, it’s time for the secondary fermentation process— I left my last brew for two weeks.  At this point, you can try the wine as it is:  young mead is yummy, too!

Secondary fermentation:  Strain your brew as you put it into a carboy with an airlock.  A carboy is a narrow- necked bottle that’s just the right size to contain your liquid.  You can buy airlocks for a couple bucks from a brew-making supply store, of which there are many online.  I get mine from Brooklyn Kitchen.

If you don’t want to go out and get an airlock, a balloon set over the opening will do:  you just have to keep an eye on the balloon:  when it starts to fill with gas, it will need to be burped.  Apparently, my grandmother used to make wine this way.  She would keep it in a carboy in the bathtub, in case the fermentation got so fizzy that the brew bubbled over and made a mess.  Because of her balloon airlock, the resulting wine was always referred to as “balloon wine” in my family.

This picture shows the first bottle I used as a carboy.  I found this beautiful bottle at a discount store in the neighborhood, and I couldn’t resist using it.  The bottle came with a cork stopper that I screwed a hole through to insert the airlock.  What I did not realize at the time is that you are really supposed to fill any carboy up to the neck so as to minimize the liquid’s exposure to air.  That’s the whole point of the carboy!  Luckily, fermentation is a forgiving enough process that I still came out with something worth drinking.  This carboy was so large that I haven’t used it lately, since I don’t tend to make batches so huge:  I now stick to a gallon sized glass apple cider bottle.
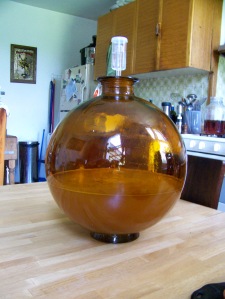
The pretty, but too large, carboy.  It’s probably 5 gallons +.  For this batch,  I even added extra honey and water to fill the bottle more after my initial fermentation.

Once you have strained your slightly bubbling mixture into the carboy and set the airlock, let it sit for about a month.   At first, you will still see a generous amount of bubbles.  By the end of the month, not so many.  When bubbles have visibly subsided, it’s time to bottle the brew!  Collect screw top wine bottles in preparation of this step, or buy some stopper bottles, or get a corker and your own corks.

The best way to bottle your mead is by siphoning:  a process they call “racking.”  Siphoning the mead aerates it and gets rid of excess sediment.  I bought some plastic tubing from my nearby pet store in the aquarium section to use for this process.  Position the carboy up higher, like on a table, and your bottles down lower, like on the floor.  Put one end of your tubing in the full carboy, not touching the silt that’s formed at the bottom of the bottle, and use your mouth to suck the liquid into the tubing.  Once the brew starts to flow, quickly put the end of the tube into your empty bottles.  Pinch the tube or cover it with your finger as you transfer to the next bottle.  Be prepared to make a bit of a mess.  Finally, seal your bottles.
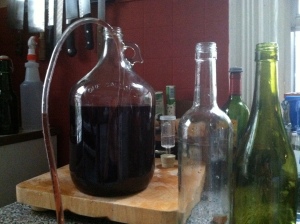
My racking siphon setup. I took this photo awkwardly during the process, while I was hunched over filling bottles on the floor.  Note, this is not my mead, but another brew I’ve yet to write about, blackberry wine. Stay tuned for that one!

Warning:  If you have not let the brew ferment long enough before bottling, you could be in for a bit of a surprise.  Last year after I bottled my blackberry-sage batch, I mysteriously found my corks on the floor two days later!  Pressure had built up in the bottles from the air created by the still bubbling brew, and the pressure was large enough to eject the corks.  Oops!

Each batch of mead I have made has been unique.  This is part of the adventure of a wild fermentation:  you are subject to the whims of the airborne yeasts in your brew-place.  Temperature certainly also plays a vital role, and since my kitchen is never air-conditioned, my temperatures have varied considerably.  If you find that once you’ve bottled a batch it’s still cloyingly sweet, you may want to let the brew age.  That happened with my strawberry batch:  it was very disappointing.  After my first bottle, I left the rest of the bottles in the back of the closet and forgot about them for most of a year.  When I came back to them:  surprise!  The aging process had created a wonderful wine!

Old Ways Herbal: Juliette Abigail Carr

Women's Health & Family Herbal Appointments, Vermont Herb School, & Free Herbal Article Library

thesoporificcabbage

A great WordPress.com site

Naturally DIY

Ayurvedic and homemade solutions for healthy living

Brooklyn Alewife

a record of home brewing experiments

Conscious Baby

Respectful baby sleep, toddler challenges, motor development

Tea Foodie [#cookingwithtea]

a journal of tea-inspired recipes

Urban Herbwifery

your source for herbal wisdom, green living tidbits, and natural pregnancy and labor information

martinezyoga

Salvador Martinez, SF Bay Area, E-RYT 500, YACEP